React and Redux Basic Setup
Before getting started the basic setup of redux with react, we need to understand a few concepts:
- Action: specify the payloads of information that send data from your application to your store.
- Reducer: specify how the application’s state changes in response to actions sent to the store. Remember that actions only describe what happened, but don’t describe how the application’s state changes.
- Store: it is maintaining the application level state tree. It stores the whole states in react application.
So why we need Redux ???
Redux is a state management tool. Which help us to manage the state in application level(globally). If we are not using some kind of state management tool like Redux, we have to maintain the states in components’ constructor. Typically this technique called a component level state maintains. (check out this link to see about react components https://reactjs.org/docs/components-and-props.html). If we have more react components( some components depend on another), then it is a very difficult task to share data among these components. In react we used the concept of props(property) to do that. When an application becomes very huge, then this task becomes mind-blowing and sometimes bad coding leads to a memory leak.
Therefore it is a better approach to use Redux to maintain the application-level state. Then we are able to share the states among components through props. So easily we can grow the application as it is.
Prerequisite
- Install Nodejs through https://nodejs.org/en/download/
- Globally install the react
npm install -g create-react-appCreate the React project with all Dependency
- First of all, we need to create a react app with the project name
npm create-react-app my-app2. Then we need to install the react-redux dependencies
cd my-app
npm install react-redux redux redux-thunk --save
react-redux: used to connect the React and Redux.
redux: state management tool
redux-thunk: used thunk middle-ware to dispatch directly to store (https://github.com/reduxjs/redux-thunk)
3. Create the folder structure in your react application. Basically I create 3 folders inside the src folder. action, reducer and component folders. and finally, create Store.js file inside the src folder.

Just ignore the green color and U letter, because I used to git and theses are not committed. And I use Vs Code for this project.
Implementing Redux stuff into React project
- setting up App.js file: wrapping everything from the Provider class which gives from react-redux dependency.

2. By looking at code you can see Provider class need the store, therefore create store in Store.js. Do so, we need 3 arguments:
reducerA reducing function that returns the next state tree, given the current state tree and an action to handle.[
preloadedState] The initial state[
enhancer] The store enhancer. The only store enhancer that ships with Redux isapplyMiddleware().

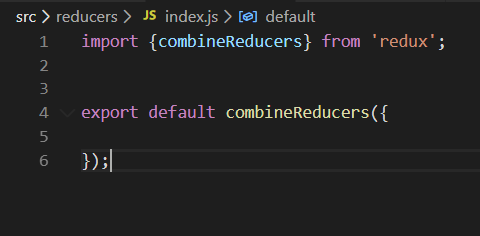
3. As the reducer, I put rootReducer in where all the reduces are combined together. So let’s create the rootReduder in reducer folder. First, create the index.js file in reducer folder. And add the combined reducers to that file. In this file, we maintain all the reducers that we created.
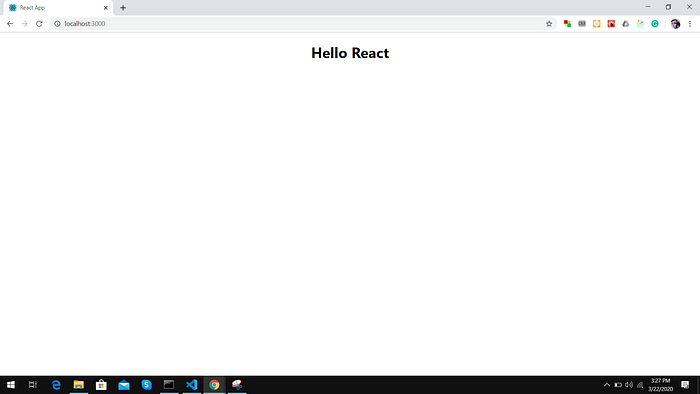
well done guys 👌!!! Now your basic React redux boilerplate has been created. Now run the
npm startusing cmd in the my-app folder to initialized the development sever. Then you can see your default browser open
The next section I will explain how to add a router to react application and debug redux stuff in chrome. please not to forget to install Redux DevTools using this link.
https://chrome.google.com/webstore/detail/redux-devtools/lmhkpmbekcpmknklioeibfkpmmfibljd?hl=en
